Add images and content to a Visual
Add product photography, campaign artwork, or another image to the active Visual.
The image browser may be labeled Assets or Content Shelf in your editor.
Use Browse images with MuseDAM, when available
Section titled “Use Browse images with MuseDAM, when available”-
Open Add image → Browse images when your App offers it. This opens IngenOps’ own picker rather than a host-supplied window.
-
Search or browse folders. Use All, In this workspace, or MuseDAM to narrow the source; use the folder breadcrumbs to go back.
-
Select images, check the numbered selection order, then click Use … selected. Multiple selection allows up to 50 images. MuseDAM images are copied into this Workspace on confirmation; merely browsing does not copy them.
From the Canvas Add image flow, one image goes into the active Visual, or creates a Visual if there is no target. Two or more images each create their own Visual side by side; they are not all inserted into the active Visual. Other fields, such as an image-source replacement, can request a single image instead.
If copying partly fails, the picker stays open: successful images remain selected, failed picks are marked and deselected, and nothing is placed yet. Reselect failed picks to retry, or confirm the remaining selection. Already copied assets can remain in the Workspace. While copying runs, wait for completion before closing the picker.
Add an image from connected content
Section titled “Add an image from connected content”Browse content appears only when your host app provides a connected asset library. The host app supplies the picker and its confirmation button.
-
Select the Visual that should receive the image.
-
Open Add image in the top toolbar and choose Browse content.
-
Select one or more images in your host app’s picker and confirm your selection.
-
Wait for the images to import and appear in the active Visual. They also become available in Content Shelf for reuse.
Upload from your device
Section titled “Upload from your device”Select the target Visual. Use Upload from device inside Browse images when that picker is offered, or choose Add image → Upload from device in other editors. Choose a local image and wait for upload. It is placed in the target Visual and becomes available among Workspace assets; newer editors can create a Visual if no target exists.
When editing inside a group, the image goes into that group. Press Esc first to place it at the Visual’s top level.
Reuse an image
Section titled “Reuse an image”-
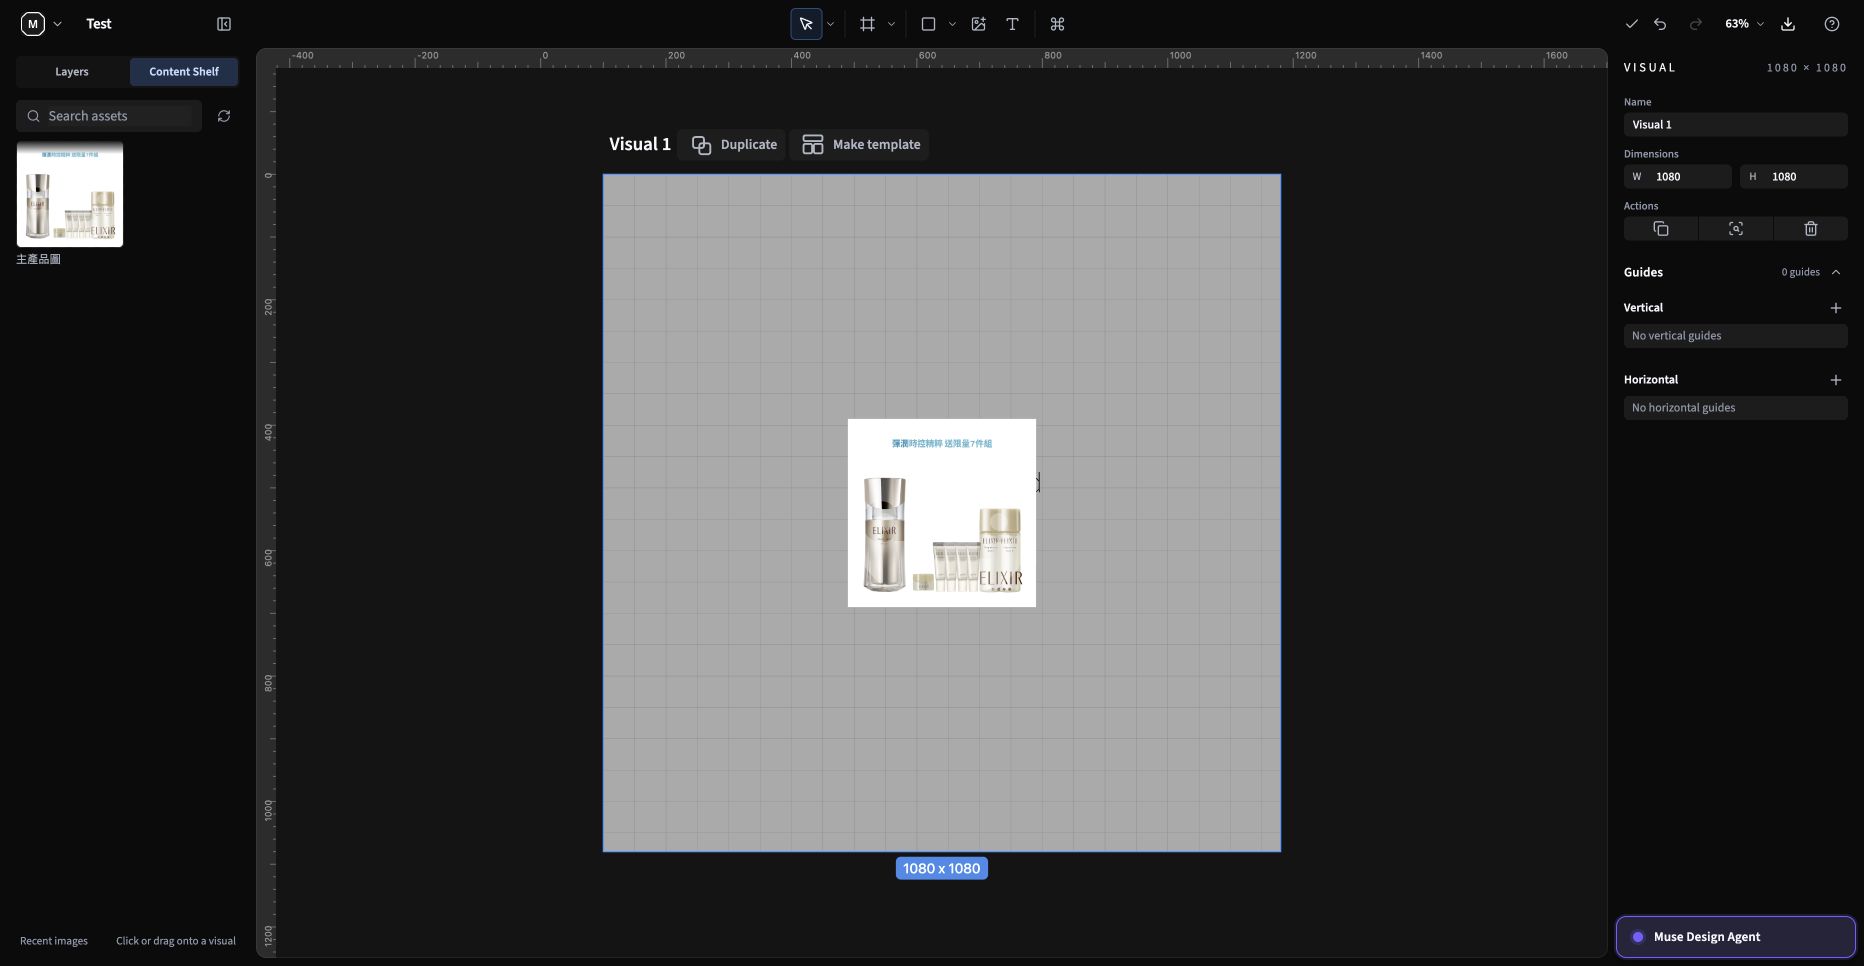
Open Content Shelf in the left panel.
-
To add a new copy, clear the layer selection and select only the target Visual, then click the asset. You do not need this step to finish the initial import from the host picker.
If a newly imported image is missing, click Refresh assets. Check the hint above the assets before clicking. If it says the asset will replace selected images, clicking replaces editable selected Image layers; locked and non-image selections are skipped. If it says several Visuals are selected, clicking adds the asset to all of them. Clear the selection first when you want only one new copy.
Adjust the Image layer
Section titled “Adjust the Image layer”-
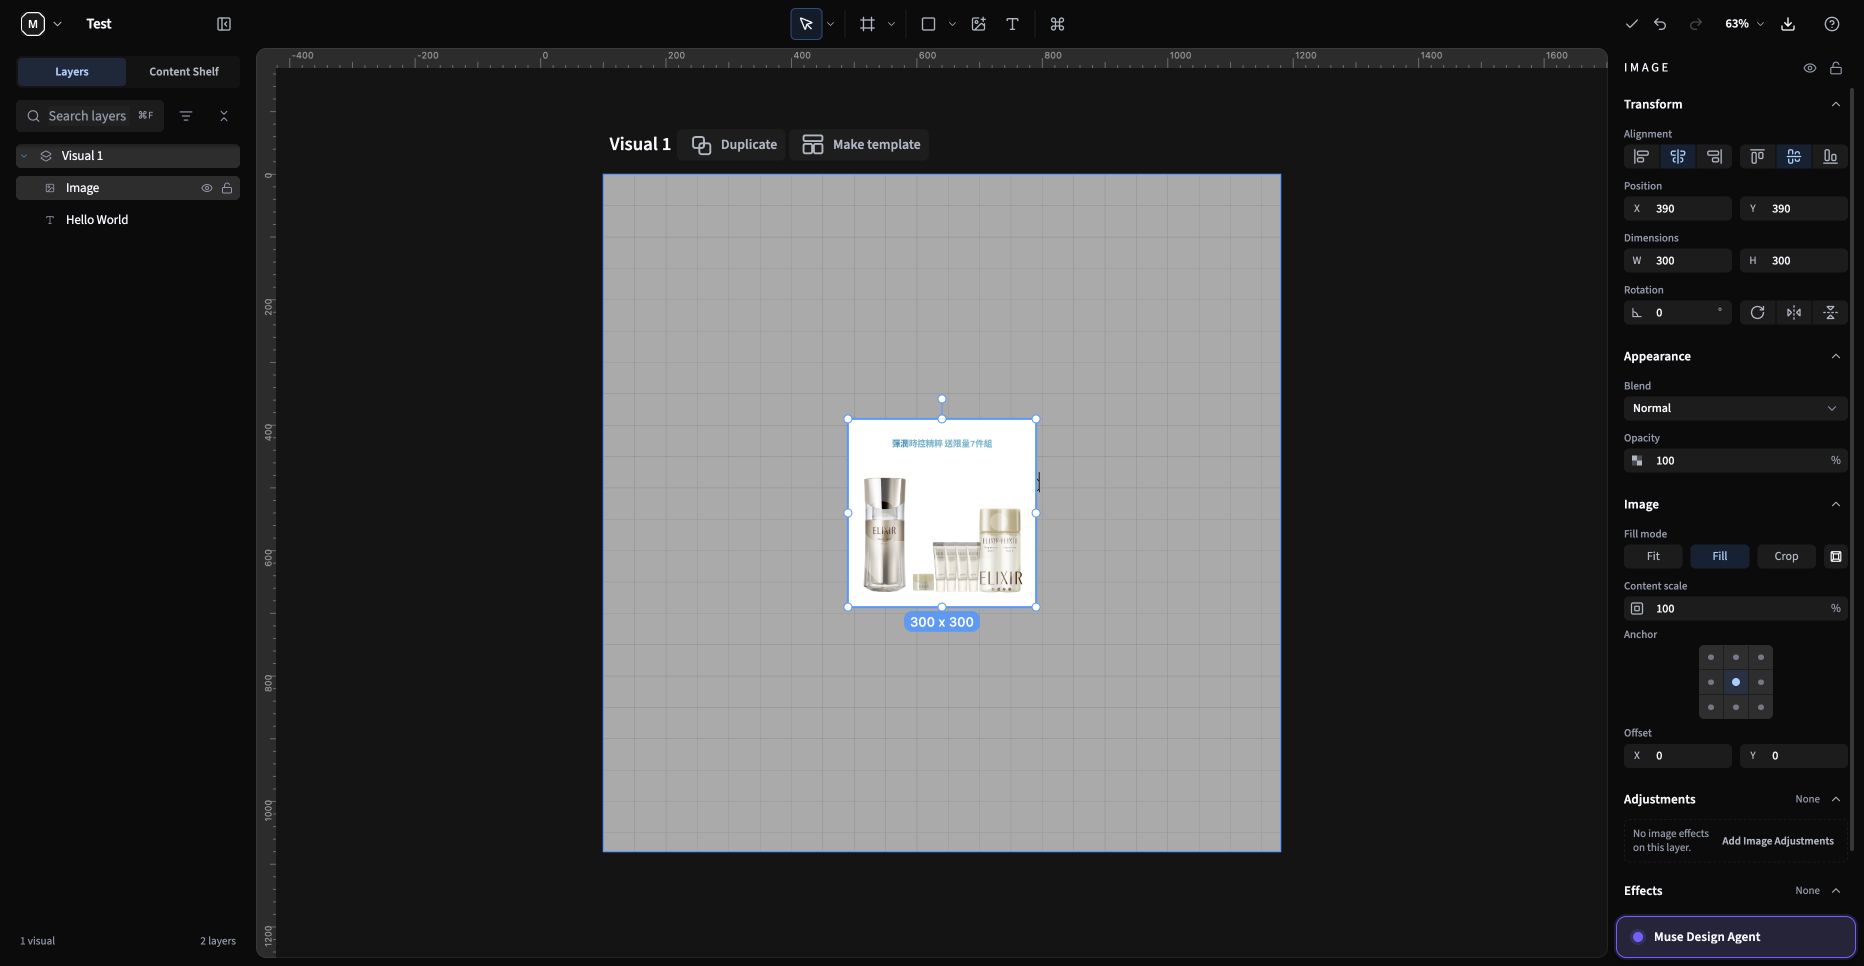
Select the Image layer on the canvas or in Layers.
-
Use Transform to change its position, size, or rotation.
-
Use the Image section to choose fit or fill and adjust crop, scale, anchor, or offset.
-
Double-click the image to reposition its content directly inside the frame.
Troubleshooting
Section titled “Troubleshooting”-
If Browse content is unavailable, the connected library is not enabled for this workspace or host app. Use a device upload if available.
-
If the asset does not appear in Content Shelf, click Refresh assets.
-
If an image is added to the wrong Visual, undo the change, select the intended Visual, and add it again.
-
If the image looks stretched or clipped, select its layer and change the fit, fill, or crop settings.
Next guide
Section titled “Next guide”Continue with Edit text and layers to position the image alongside the rest of your content.